Melting Wax Made Easy
To melt wax effortlessly, start with a double boiler to evenly heat your beeswax and coconut oil mixture without burning. Use an accurate thermometer and aim for 185°F when mixing in your essential oils for the perfect fragrance infusion. Choose clamshell molds for easy removal and fill them with care, ensuring you don't overfill to allow a clean fit in wax burners. Let your creations cool in a stable, cool environment for flawless solidity. Store them in airtight containers to preserve their aroma. Each step enhances creative potential and the artistic results await those curious enough to explore further.
Essential Tools and Materials
Creating your own wax melts at home is both an art and a science, and having the right tools and materials is vital for success. To make wax melts that delight and serve others, start by gathering a few significant components.
You'll need a double boiler or a glass bowl set over simmering water. This setup guarantees even melting of your wax without the risk of burning, providing a seamless blend of ingredients like coconut oil for that smooth texture.
An accurate thermometer is your best ally in achieving the perfect wax consistency. Monitor the temperature closely, aiming for 185°F (85°C) before you introduce your essential oils. This precision allows the fragrance to bind beautifully with the wax.
When ready to pour, a temperature of 170°F (76.7°C) guarantees your creation sets with the ideal texture and scent throw.
Consider using standard clamshell molds for your wax melts. These molds not only shape your melts but also facilitate easy removal and storage. They add a professional touch, making it simple to gift or share your creations with others.
For a vibrant and clean burn, opt for a blended pillar soy wax like BW-921. Its compatibility with liquid dyes lets you customize your wax melts' appearance to suit any occasion.
Keep in mind, precise measurements are vital; a 9% fragrance load requires 0.75 oz of essential oils per half-pound of wax.

Step-by-Step Melting Process
Once you've gathered all the necessary tools and materials, you're ready to bring your wax melting project to life. Start by filling a saucepan with 300 ml of water and set it on a burner to achieve a gentle simmer. This creates the ideal double boiler effect essential for the melting process.
Now, position a glass bowl over the simmering water. This method guarantees consistent heat distribution, preventing direct heat from altering the wax's properties.
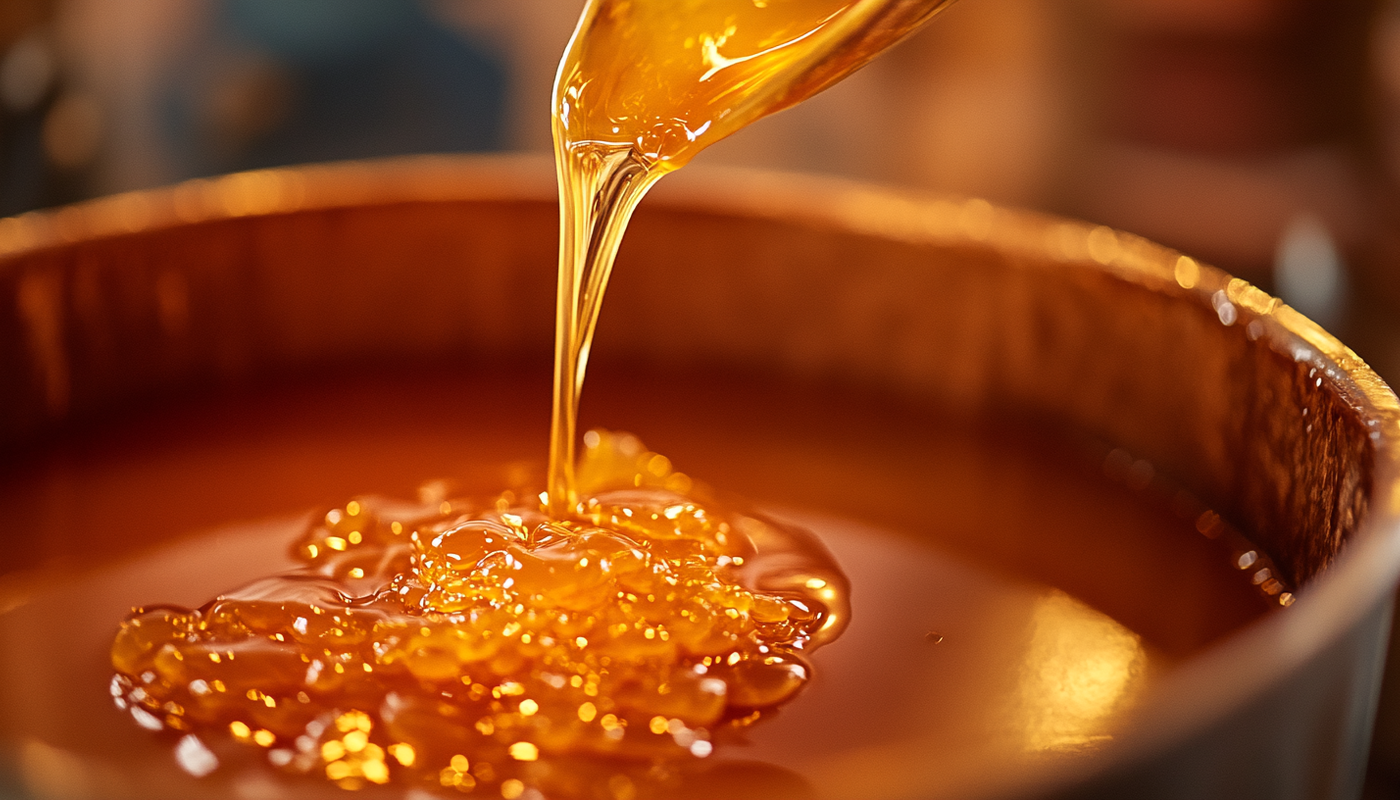
In the glass bowl, combine 200 g of beeswax with 100 g of coconut oil. With patience and gentle stirring, you'll encourage these components to merge into a smooth, homogeneous blend. The oil not only aids in the melting process but also adds a luxurious texture to your final product.
Once your wax and oil are completely melted, it's time to introduce the essential element of fragrance. Add 15-20 ml of your chosen essential oil, stirring thoroughly to guarantee an even distribution throughout the mixture. This step is essential in creating a uniform scent profile in each wax melt.
Carefully pour the liquid mixture into small silicone molds or ice cube trays. Precision is key here—avoid overfilling to guarantee each wax melt fits perfectly into your burner.
Let the molds sit in a cool area, allowing them to harden completely. This process may take a few hours, but patience will reward you with beautifully solidified wax melts.
Once firm, gently remove your creations from the molds, ready to spread warmth and fragrance wherever they're used.
Adding Fragrance to Wax
Fragrance is the soul of your wax melts, transforming them from mere decorative pieces into sensory experiences. By adding the right scent, you're not just creating a product; you're crafting an atmosphere.
We're going to show you how easy it's to make your wax melts truly distinctive with essential oils or fragrance oils.
Begin by ensuring your wax reaches the ideal temperature of 185°F (85°C). This is essential for proper bonding and maximizing the scent throw of your chosen oil. At this temperature, the wax is ready to embrace the fragrance, ensuring it permeates the entire melt.
Now, decide between essential oils or fragrance oils. Essential oils offer a natural, pure aroma and can be blended for complex profiles. For example, mixing cinnamon and nutmeg creates a warm, inviting scent. Just be sure to adhere to recommended usage percentages for safety and effectiveness.
If you opt for fragrance oils, a 9% load is standard, which translates to about 0.75 oz per batch. Adjust this based on room size and personal preference. Once you add the oil, stir thoroughly. This step is non-negotiable for even distribution, ensuring every part of your melt is infused with fragrance.
This process is where your artistic flair comes into play. Your choices in oils and blends shape the experience your melts provide. With a keen eye for detail and a passion for serving others, you can create wax melts that offer more than scent—they offer an experience.

Pouring Into Molds
Frequently, the key to achieving perfectly formed wax melts lies in the meticulous process of pouring the wax into molds. You'll want to confirm that your melted wax has cooled to around 170°F (76.7°C) before you begin. This temperature is essential for a smooth pour, preserving both the scent and texture of your wax melts. With an artistic touch, you can create masterpieces that delight the senses and serve those who enjoy your creations.
Choose your molds wisely. Plastic clamshell molds with snap lids are ideal for ease of pouring and future storage. As you pour, keep a steady hand to avoid overfilling—this guarantees your wax melts fit snugly into burners, maximizing their utility.
Here's a quick reference to guide your process:
| Step | Detail | Tip |
|---|---|---|
| Prepare Molds | Use plastic clamshell molds with snap lids. | Keeps pours neat and organized. |
| Monitor Temp | Pour at 170°F (76.7°C). | Guarantees scent and texture. |
| Pour Carefully | Avoid overfilling the molds. | Fits well in wax burners. |
After pouring, place your molds in a cool, stable environment. This allows them to solidify overnight, confirming your wax melts are perfect the next day. For an added touch of care, consider inserting warning labels inside the mold lids. This thoughtful gesture informs users of the safety precautions when using wax melts in warmers, enhancing their experience and confirming safe enjoyment of your delightful creations.
Cooling and Storing Wax Melts
As your wax melts cool in their molds, patience becomes your ally, ensuring they set perfectly before removal. Allow them to rest overnight, providing ample time for the wax to harden uniformly. This patience pays off, giving you beautifully formed pieces that are ready to share their aromatic allure. By letting them cool undisturbed, you avoid any premature cracks or blemishes that might affect their appearance and performance.
Once your wax melts have solidified, it's time to focus on storage. The key to maintaining their fragrance and integrity lies in placing them in a cool, dry place. Avoid direct sunlight or proximity to heat sources, as these can diminish their scent potency and lead to unwanted melting. Airtight containers or resealable bags are your best friends here; they shield your wax creations from moisture and air, preserving their aromatic essence.
Labeling becomes an artful habit, as it not only helps with identification but also keeps track of freshness. Write down the scent and the date you made each batch. This practice serves others by allowing them to choose their preferred fragrance with ease, ensuring they receive the fullest olfactory experience.
Your thoughtfully crafted wax melts, when stored with care, become a gift that keeps on giving. Whether you're sharing them with friends or using them to create a welcoming atmosphere, these small gestures serve others by enveloping them in a warm, inviting fragrance that speaks volumes about your attention to detail and dedication to quality.
Frequently Asked Questions
How Do You Melt Wax Easily?
You'll master wax melting by using a double boiler setup. Simmer water, letting the wax melt gently. Stir in fragrance, pour into silicone molds, and cool. Transform simple ingredients into aromatic creations, delighting those you serve.
How Do You Make Wax Melts for Beginners?
Start by melting soy wax in a double boiler. Add fragrance oil and dye, stirring thoroughly. Pour into silicone molds and let cool. Customize with essential oils for a personal touch. Share your aromatic creations with others!
What Wax Melts the Easiest?
You'll find soy wax melts the easiest due to its low melting point, around 120-130°F. It's perfect for beginners seeking a smooth, manageable experience. Delight in crafting aromatic creations while serving others with your artistic touch.
Is Boiling Water Hot Enough to Melt Wax?
Yes, boiling water's heat is sufficient to melt wax effectively. You should monitor the temperature, ensuring it doesn't exceed desired levels to preserve wax's quality. By doing so, you create enjoyable, aromatic experiences for others.
Closing Thoughts
You've now mastered the art of crafting your own wax melts, combining technical precision with creative expression. As you watch the blend of coconut wax and oil solidify, appreciate the meticulous process that led to these aromatic treasures. Each step, from melting to cooling, reflects your attention to detail and artistic flair. Store them properly, and your home will be graced with personalized scents, offering a fragrant demonstration to your skill and creativity. Enjoy your new fragrant oasis!
