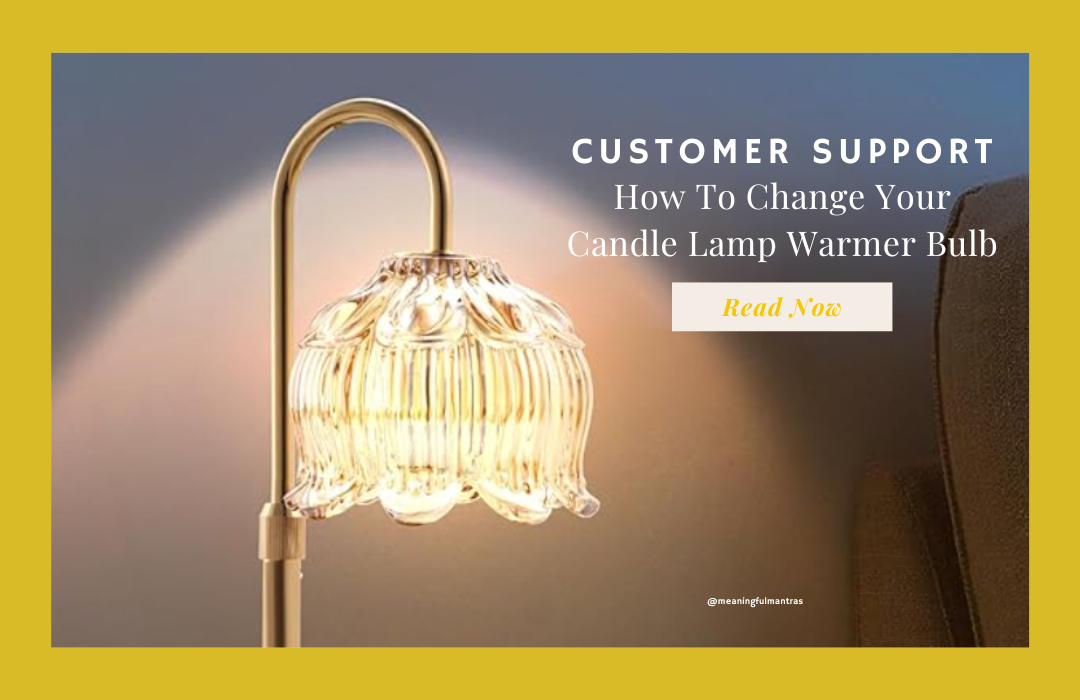
Changing a candle lamp warmer light bulb is simple, but it’s good to do it safely and correctly so your warmer works properly and lasts longer.
Here's a quick step-by-step guide to safely switch out a 50-watt halogen bulb by our Customer Support team to help you replace your bulb quickly + safely:
🔧 How to Remove & Replace a 50W Halogen Bulb from a Candle Lamp Warmer
Step 1: Unplug & Cool Down
-
Turn off and unplug your candle warmer.
-
Wait 10–15 minutes for the bulb to cool completely — halogen bulbs get extremely hot!
Step 2: Protect Your Hands
-
Use a cloth, paper towel, or gloves to avoid touching the bulb with bare hands (even if it's burnt out).
-
Pro Tip: Oils from your skin can damage halogen bulbs or shorten their lifespan.
-
Step 3: Identify the Bulb Type
Most 50W halogen bulbs in candle warmers are either:
-
GU10 (twist and lock)
-
MR16 (2-pin push-in style)
-
E12/E14 (screw base — like a nightlight bulb)
Check the base to see what kind you have.
Step 4: Remove the Old Bulb
If it’s a GU10 (Twist and Lock) bulb:
-
Gently push the bulb upward, twist counterclockwise, and pull it out.
If it’s a 2-pin (MR16) bulb:
-
Gently pull the bulb straight out — it might be snug, so wiggle slightly if needed.
If it’s a screw-in (E12/E14) bulb:
-
Twist the bulb counterclockwise to unscrew it.
Step 5: Install the New Bulb
-
With a cloth, insert the new 50W halogen bulb (same type and wattage as the old one).
-
GU10 → Push and twist clockwise
-
MR16 → Push pins straight in
-
E12/E14 → Screw clockwise
-
✅ Make sure it's firmly seated but don't overtighten or force it.
Step 6: Plug In & Test
-
Plug your warmer back in.
-
Turn it on and make sure the bulb glows and starts warming the wax.
📝 Pro Tip:
Halogen bulbs are sensitive! If you accidentally touch the new bulb, wipe it with rubbing alcohol and let it dry before use.